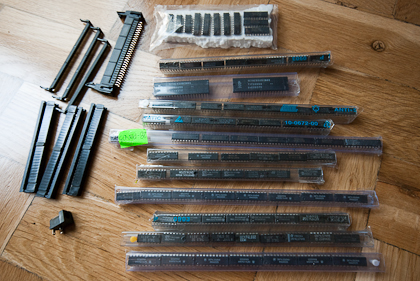
 I received the CPU parts I ordered a few days ago. I think I have everything I need now, no more excuses. Surprisingly, all necessary TTL components were in stock at my electronic parts supplier. That’s more than 120 LS-type TTL integrated circuits. The parts come from different manufacturers, and some are of course second-hand, recycled from old equipment. On many of them I have noticed brand names of Polish state-owned companies like UNITRA or CEMI which were closed down shortly after the communist rule ended in 1989. The components store assures they are all tested and work fine. We’ll see – I also hope they are of sufficient quality and will not cause any trouble.
Since I have the parts now, I started my first attempts to actually wrap wire. This was a true nightmare. I did not know how to use the wrapping gun and bit, my connections were too loose and I was stripping too little insulation. After almost two hours of fiddling with the tool, and having used 10 feet or so of wire I torn everything off with fury, and started looking at custom PCB prices. After a short break, I calmed down and tried again. I realized I was using too much force on the wire wrap gun, pushing it downwards while wrapping in a hope to make a stronger and tighter connection. In fact, this was the reason why my wraps were loose on the pins. The way to use a wire wrap gun correctly is to hold it vertically on the pin but without applying any force downwards – the gun simply has to float on the bottom of the post and lift itself on a spiral of wire it creates. This allows for creating neat connections, holding tight on the posts. I also determined an optimal length of stripped insulation – should be about half inch to create 6-7 twists around the posts.
The first CPU section to build once I acquired the necessary skill was the clock and reset circuitry. This was not easy neither. Making test connections is not the same as wire wrapping real circuits with multiple wires going on top of each other. Since I don’t have the wire wrap tags it is also pretty easy to loose orientation by constantly flipping the board from the pins side to the components side and connect pins on the reverse side of the IC. Fixing wire wrapped circuit is really not so easy. It is not a problem when you need to unwrap a wire that is on top of the pin in question. But what if the wire is at the very bottom of the stack? This requires unwrapping all wires from the pin, with their other ends (unless they are still long enough to cut, strip and wrap again) – lots of rework for a simple mistake. The bottom line is – wire wrapping requires a lot of care and a lot of patience.
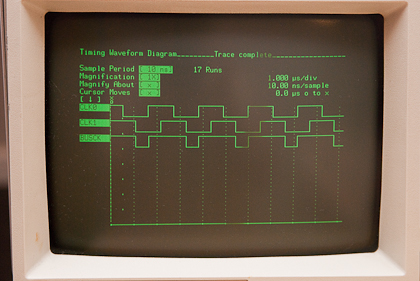
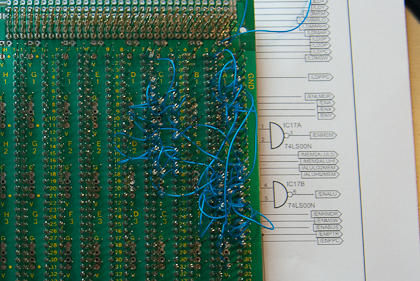
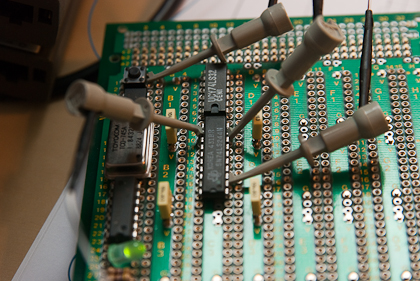
Anyhow, I managed to complete the clock and reset circuitry. Below are the photos of the CPU’s first heartbeats. On the analyzer screen you can see my two clocks (master clock and secondary clock offset by 90 degrees) and the bus clock (low only in the last quarter of the master clock). Everything seems to be working fine, the power draw with a LED in place is 40mA, indicating there are no shorts. I am not quite happy with the tangle of wires after having wrapped just a few components. Looks like I am still leaving too much slack on the wires, but otherwise I am having trouble with wrapping them correctly. With little slack the wire tends to slip out of the bit and I end up with a piece of wire with no insulation sticking out of the post, which is something I really need to avoid. I will try to look for a better cut-strip-wrap bit on Ebay. They allow for precise wrapping, leaving almost zero slack (or as much as you want). If I don’t find it (they are quite rare, and very expensive) I may soon end up with an unmanageable tangle.


Next, I will lay out microcode sequencing and control circuitry on the board (way more complicated than clock and reset). Stay tuned for more.