Time to break out the soldering iron again! CPU boards arrived in mail a few days back. That’s seven euro-sized boards, each one individually sealed in plastic, with green solder mask (anything else would mean extra manufacturing cost) and without silk screen layer (again, just to save a few bucks). At current prices of PCB manufacturing the boards were anyway $200 to fabricate and ship, so I was looking for savings everywhere I could, knowing that they layouts are still untested and rework may still be necessary.
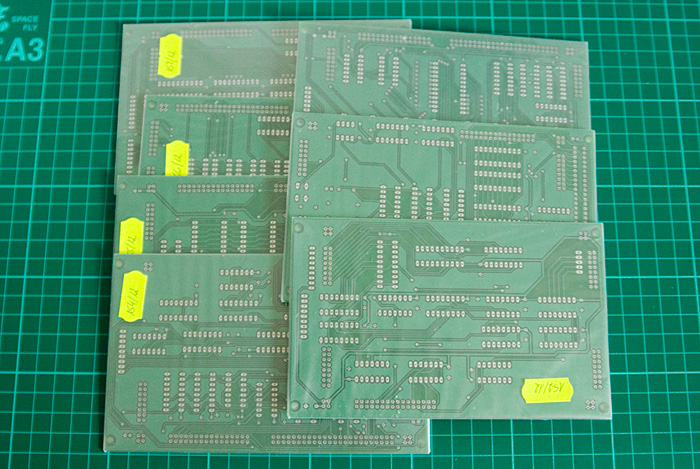
I had the boards manufactured by a small prototyping company in Poland. I used their services before and was satisfied with the quality back then. They are fast and reliable and there are multiple boards options one may choose from (soldermask color, board thickness, copper thickness, through-hole plating method, tinning method, silkscreen color, etc.). To my surprise, this time the quality seems to be even better, so they must have gotten new equipment in the meantime.
In my last post I mentioned that I had been considering etching PCBs at home. Few people have contacted me since then expressing their opinion that it is a generally bad idea and a waste of time. I tend to agree to a certain extent – using a fab house is cleaner, faster and (almost) always produces satisfactory results. Still, there is something exciting about etching boards at home. There must be a reason why people still develop analogue photographic film in their bathrooms while you can have it processed by professionals or go digital, right? I have been experimenting with a photo-positive method of etching boards at home and the results were really good. The method involves printing a positive layout on transparencies, aligning top and bottom layers to form an exposure envelope, exposing pre-fabricated photosensitive boards in UV light, etching in hydrochloric acid with a bit of hydrogen peroxide, then chemical tinning, laminating soldermask film, exposing again, etching again (this time in a soldermask film) and finally drilling. What makes these boards different from professionally manufactured boards is lack of through-hole plating, so you need to solder components on both sides. This is a bit tricky when you want to solder headers and since I have many of them in this design, I decided to go with a fab house. I haven’t given up home etching altogether though and I am pretty sure I will employ this method in my other designs. Meanwhile, below is a photo of one of the CPU boards which I etched at home, so you can judge yourselves:
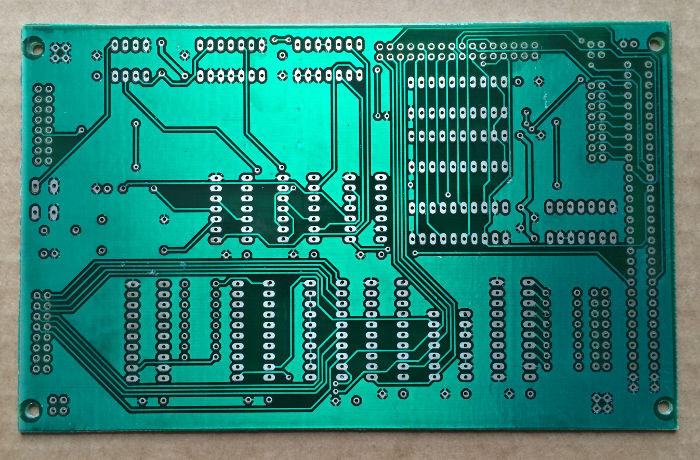
Except for a few bubbles in the soldermask (laminator temperature was set a notch too high), and some drills a bit off-center (I was learning how to use the Dremel drill press properly) the board looks and feels industry-grade, with all traces crisp, with no bridges or gaps. It think this kind of result is well worth the hassle. And it costs only a fraction of a price of a even the cheapest fab house.